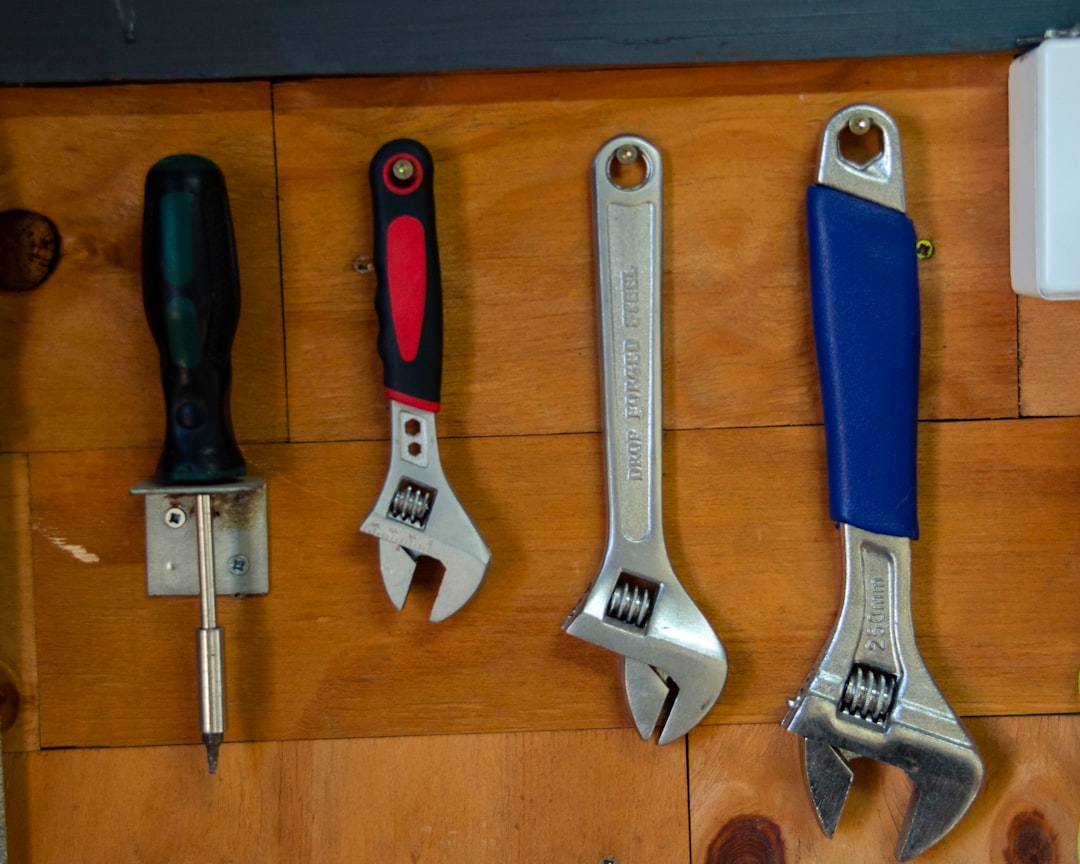
Why Proper Tool Maintenance Matters
Power tools represent a significant investment, and proper maintenance is key to protecting that investment. Beyond the financial aspect, well-maintained tools perform better, operate more safely, and produce higher quality results in your projects. This comprehensive guide will walk you through essential maintenance practices for various power tools to help you maximize their lifespan and performance.
Benefits of Regular Maintenance
Regular maintenance can double a tool's lifespan- Extended lifespan: Properly maintained tools can last years or even decades longer
- Improved performance: Tools operate at peak efficiency with proper care
- Enhanced safety: Reduced risk of malfunctions that could cause injuries
- Cost savings: Fewer replacements and repairs save money long-term
- Better project results: Well-maintained tools produce cleaner cuts, smoother finishes, and more precise work
Essential Cleaning Techniques
Regular cleaning is the foundation of power tool maintenance. Different tools require specific cleaning approaches, but these general principles apply to most power tools:
General Cleaning Guidelines
Always disconnect power before cleaning- Disconnect power: Always unplug corded tools or remove batteries from cordless tools before cleaning.
- Remove surface debris: Use a soft brush or cloth to remove dust, dirt, and debris from the tool's exterior.
- Clean air vents: Use compressed air (at moderate pressure) to blow out dust from ventilation ports and motor housings.
- Wipe down surfaces: Use a slightly damp cloth with mild detergent for stubborn grime, followed by a dry cloth.
- Avoid excessive moisture: Never submerge power tools in water or use excessive liquid when cleaning.
Tool-Specific Cleaning
Drills and Drivers
Clean chuck regularly for smooth operation- Clean the chuck by opening it fully and removing dust with compressed air
- Wipe chuck jaws with a cloth dampened with mineral spirits
- Remove and clean detachable handles and auxiliary components
- Check and clean battery contacts with a pencil eraser (for cordless models)
Saws (Circular, Reciprocating, Jigsaws)
Keep blade guards moving freely- Remove blades and clean them separately with blade cleaner or mineral spirits
- Clear sawdust from blade guards and ensure they move freely
- Clean the baseplate/shoe to ensure smooth gliding over materials
- Vacuum dust collection ports and bags/containers
Sanders and Grinders
Dust buildup severely affects performance- Remove sanding pads/discs and clean dust collection systems thoroughly
- Use compressed air to clear abrasive dust from motor vents
- Clean backing pads and check for tears or excessive wear
- Wipe down handles and grips which often accumulate grime and dust
Routers and Rotary Tools
Clean collets thoroughly for precise cuts- Remove bits and thoroughly clean collets with a small brush
- Clean base plates and depth adjustment mechanisms
- Check and clean cooling vents which are critical for these high-RPM tools
- Inspect and clean variable speed controls
Proper Lubrication Practices
Lubrication reduces friction, prevents rust, and ensures smooth operation of moving parts. However, over-lubrication can attract dust and cause additional problems, so follow these guidelines:
What to Lubricate
Use the right lubricant for each component- Moving parts: Gears, bearings, chuck mechanisms, and blade adjustment components
- Sliding mechanisms: Fence guides, depth adjustments, and telescoping guards
- Metal surfaces: Apply light coat to prevent rust (especially for tools stored in humid environments)
Types of Lubricants
Never use WD-40 as a long-term lubricant- Dry lubricants: PTFE (Teflon) or graphite-based lubricants for environments where dust is a concern
- Light machine oil: For general-purpose lubrication of moving parts
- Silicone spray: For plastic components and where oil might damage materials
- Specialized greases: For gearboxes and heavy-duty applications (refer to manufacturer recommendations)
Important note: Always consult your tool's manual for specific lubrication points and recommended lubricant types. Some modern tools have sealed bearings and require no additional lubrication.
Storage Solutions to Prevent Damage
Proper storage extends tool life and keeps your workspace organized. Consider these practices:
Storage Environment
Humidity control is crucial for preventing rust- Climate control: Store tools in dry, temperature-stable environments
- Humidity management: Use desiccants or dehumidifiers in humid areas
- Dust protection: Cover tools or store in closed cases when not in use
- UV protection: Avoid direct sunlight which can degrade plastic components
Storage Options
Original cases provide the best protection- Manufacturer cases: Original cases are designed specifically for your tools
- Wall systems: Peg boards, French cleats, or specialized tool walls
- Tool cabinets: Lockable storage with customizable dividers
- Drawer systems: With foam inserts for organization and protection
- Tool bags: For transport and job site organization
Storage Best Practices
Store batteries separately at 40-70% charge- Store tools clean and dry, not immediately after use
- Remove batteries from cordless tools during long-term storage
- Store batteries at 40-70% charge (not fully charged or depleted)
- Keep cutting tools with blades/bits removed or protected
- Coil cords properly without tight bends to prevent wire damage
- Store heavy tools on lower shelves to prevent falling hazards
Maintaining Specific Power Tools
Cordless Drill/Driver Maintenance
Cordless drills are among the most frequently used power tools and benefit from regular maintenance:
- Battery care: Clean battery contacts, store at proper charge levels, and follow manufacturer guidelines for charging cycles
- Chuck maintenance: Open fully, clean with compressed air, and apply dry lubricant quarterly
- Clutch mechanism: Rotate through all settings periodically to ensure smooth operation
- Motor vents: Clear dust build-up monthly with compressed air
- Gear case: Check for grease levels per manufacturer recommendations (typically every 1-2 years)
Circular Saw Maintenance
Circular saws require special attention to safety features and cutting components:
- Blade guard: Clean and test for free movement before each use
- Blade: Clean resin build-up with specialized blade cleaner
- Base plate: Check for flatness and smooth movement
- Blade alignment: Verify blade is square to base plate using a combination square
- Bevel mechanism: Clean and lubricate quarterly
- Motor brushes: Inspect for wear annually (or after heavy use)
Sanders Maintenance
Sanders generate significant dust that can damage internal components:
- Dust collection: Empty and clean dust bags/containers after each use
- Filters: Clean or replace dust filters monthly
- Backing pads: Inspect for tears or uneven wear
- Bearings: Listen for unusual noises that may indicate bearing issues
- Sanding surface: Clean with alcohol to remove residue
Troubleshooting Common Power Tool Problems
Even with regular maintenance, tools may develop issues. Here's how to address common problems:
Tool Won't Start
Check the simplest causes first- Check power source (outlet, battery charge, connections)
- Inspect power cord for damage
- Test the switch by carefully disassembling if necessary
- Check brushes for wear (common failure point)
- Verify circuit breaker or GFCI hasn't tripped
Tool Runs Inconsistently
Intermittent issues often indicate cord problems- Check for loose connections
- Inspect cord for internal breaks (flex cord near plug)
- Clean dust from switches and internal components
- Test variable speed control for smooth operation
- Check brushes for uneven wear
Overheating
Overheating can permanently damage motors- Clear all ventilation ports of dust and debris
- Avoid overloading the tool beyond its capacity
- Allow adequate cooling breaks during heavy use
- Check for binding moving parts that create excessive friction
- Verify proper voltage supply
Unusual Noises
New noises usually indicate developing problems- Grinding: Usually indicates bearing problems or debris in gears
- Clicking: Often caused by broken teeth on gears or loose components
- Buzzing: May indicate electrical problems or motor issues
- Scraping: Could be misalignment of components or foreign objects
When to Seek Professional Repairs
While many maintenance tasks can be performed by users, some situations call for professional service:
Signs Professional Repair is Needed
Never attempt repairs on tools under warranty- Tool is under warranty (DIY repairs may void coverage)
- Electrical components show damage or burning
- Tool has been dropped or suffered significant impact
- Motor brushes need replacement (if you're not comfortable with the procedure)
- Tool requires calibration for precision work
- Safety features are compromised or not functioning properly
Finding Quality Repair Services
Authorized service centers have access to original parts- Manufacturer authorized service centers (preferred option)
- Reputable tool repair specialists
- Some rental centers offer repair services
When comparing repair costs, consider that professional repairs typically include multiple services beyond fixing the immediate problem, such as inspection, cleaning, lubrication, and calibration. If repair costs exceed 50% of replacement cost, however, it may be more economical to replace the tool.
Maintenance Schedules and Record Keeping
Establishing a regular maintenance schedule helps ensure proper tool care. Consider these timeframes:
After Each Use
- Remove dust and debris
- Inspect for damage
- Properly store the tool
- Empty dust collection systems
Monthly Maintenance
- Thorough cleaning of all components
- Check and clean air vents
- Inspect cords and plugs
- Check moving parts for proper operation
Quarterly Maintenance
- Lubricate appropriate components
- Check brushes for wear
- Inspect and clean switches
- Check batteries and chargers
Annual Maintenance
- Deep cleaning of internal components where accessible
- Check gear case lubrication
- Inspect bearings
- Test and calibrate precision tools
- Replace worn parts before failure
Consider keeping a maintenance log for each valuable tool, noting dates of cleaning, lubrication, part replacements, and repairs. This information helps track tool history and predict future maintenance needs.
Conclusion
Proper maintenance is an investment that pays dividends in tool performance, longevity, and safety. By establishing regular cleaning routines, appropriate lubrication practices, and proper storage habits, you can significantly extend the life of your power tools while ensuring they operate at peak performance.
For specialized tools used infrequently, consider rental options through services like Framrsklns, which provides professionally maintained equipment without the long-term maintenance commitment. When you do own tools, remember that a small investment of time in regular maintenance prevents costly repairs and replacements while delivering better results in your projects.