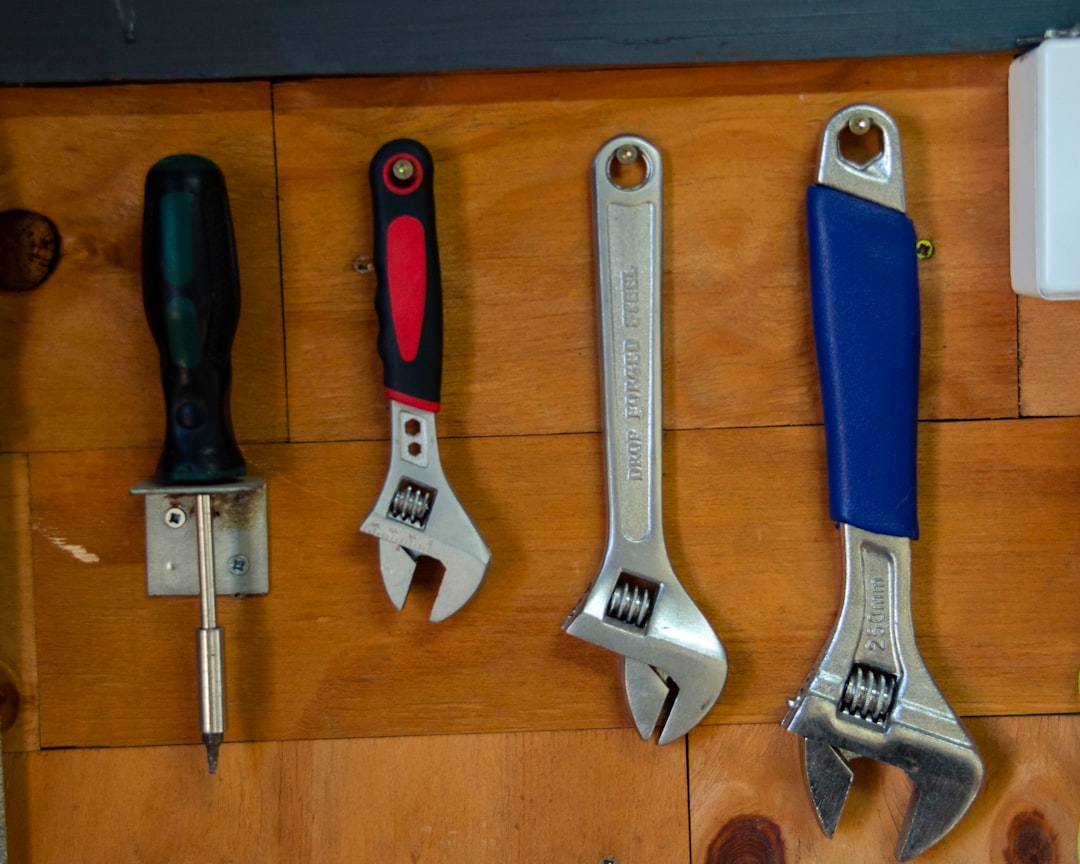
Getting Started with DIY: The Minimal Toolkit
Many people are hesitant to start DIY projects because they believe they need an extensive collection of expensive tools. The good news is that many impressive projects require just a few basic tools that most households already have or can acquire inexpensively. Before diving into our projects, let's look at the essential toolkit that will enable you to complete all five projects in this guide:
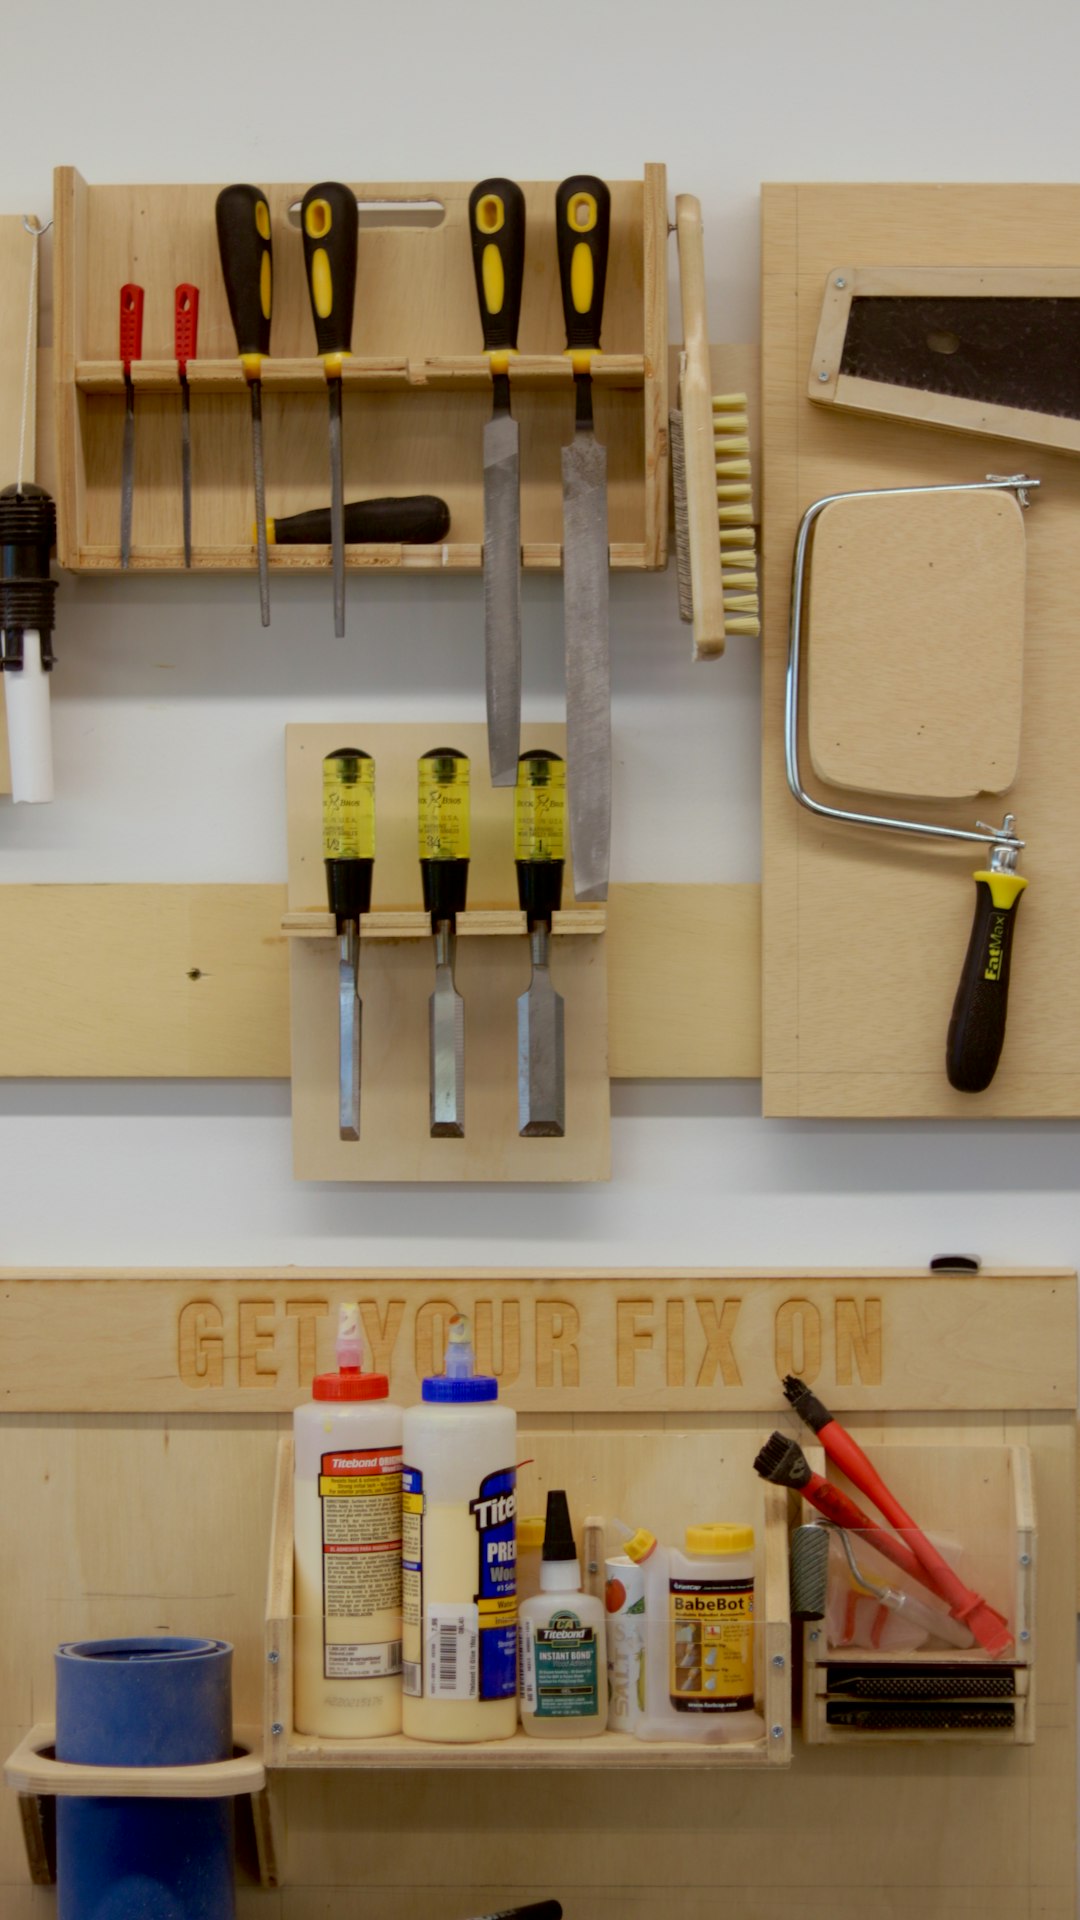
The Basic DIY Toolkit
These tools will cover all 5 projects- Hammer: A standard claw hammer (16 oz) is versatile enough for most home projects
- Screwdriver set: A basic set with both flathead and Phillips head in various sizes
- Tape measure: A 12-foot tape measure will be sufficient for these projects
- Utility knife: For cutting various materials precisely
- Pliers: Regular and needle-nose pliers for gripping and manipulating materials
- Level: A small torpedo level for ensuring straight installations
- Sandpaper: Assorted grits (120, 180, and 220) for smooth finishes
With this minimal toolkit, you'll be equipped to tackle the following five projects, each offering impressive results without requiring specialized equipment. For any project-specific tools, we'll note rental options available through Framrsklns if needed.
Project 1: Floating Wall Shelves
Floating shelves add storage and style to any room with a clean, modern look. They appear to "float" on the wall without visible brackets, creating an elegant display space.
Materials Needed
Most materials available at local hardware stores- 1×8 or 1×10 lumber (length depends on desired shelf size)
- Floating shelf brackets (available at hardware stores)
- Wood screws
- Wall anchors (if not mounting to studs)
- Wood stain or paint
- Polyurethane finish (optional)
Step-by-Step Instructions
- Prepare the wood: Cut the lumber to your desired length (most hardware stores will cut it for you). Sand all surfaces until smooth, progressing from coarse to fine sandpaper grits.
- Finish the wood: Apply wood stain or paint according to the manufacturer's instructions. Allow to dry completely, then apply a polyurethane finish if desired for added durability.
- Mark the wall: Use your level to mark a straight line where the shelf will be mounted. Locate wall studs if possible for stronger support.
- Install brackets: Mount the floating shelf brackets to the wall, ensuring they're level and properly secured into studs or with appropriate wall anchors.
- Attach the shelf: Slide the finished wood piece onto the brackets and secure with screws if required by your bracket system.
Time required: 2-4 hours (plus drying time for finishes)
Approximate cost: $30-$60 depending on wood selection and finish
Project 2: Upcycled Furniture Makeover
Transform old or thrifted furniture pieces into custom statement pieces with just basic tools and some creativity. This project is perfect for nightstands, side tables, or small dressers.
Materials Needed
Consider unique hardware for extra style- Furniture piece to upcycle
- Cleaning supplies (mild detergent, cloth)
- Sandpaper (120, 180, and 220 grit)
- Primer (for painted pieces)
- Paint or wood stain
- Clear protective finish
- New hardware (handles, knobs) if desired
Step-by-Step Instructions
- Prepare the furniture: Remove any hardware, drawers, or removable parts. Clean thoroughly to remove dirt, grease, and old wax.
- Light sanding: Sand all surfaces lightly to create a slightly rough surface that will help the new finish adhere better. Wipe away all dust with a slightly damp cloth.
- Prime (if painting): If you're changing colors dramatically or covering a dark finish with a lighter one, apply a coat of primer and allow it to dry completely.
- Apply finish: For paint, apply 2-3 thin coats, allowing proper drying time between each. For stain, apply according to product directions, wiping off excess and allowing adequate drying time.
- Protective finish: Apply a clear protective finish like polyurethane or furniture wax for durability.
- Replace hardware: Install new or cleaned original hardware once everything is completely dry.
Time required: 1-2 days (including drying time)
Approximate cost: $40-$75 depending on the size of the piece and quality of paint/finish
Project 3: Custom Picture Frame Gallery Wall
Create a stunning gallery wall with custom-made frames that perfectly complement your decor and artwork. This project allows for complete creative control over sizes, colors, and arrangement.
Materials Needed
Pre-cut mat boards save time and look professional- 1×2 lumber (amount depends on frame sizes)
- Wood glue
- Small finishing nails
- Picture frame backing board
- Glass or acrylic sheet (can be cut at hardware stores)
- Mat board (optional)
- Paint or stain for frames
- Picture hanging hardware
Step-by-Step Instructions
- Plan your gallery: Determine frame sizes based on your artwork and arrange them on the floor or using paper templates on the wall.
- Cut wood pieces: Measure and cut 1×2 lumber to create frame sides with 45-degree mitered corners. (If you don't have a saw, most hardware stores will make these cuts for you.)
- Assemble frames: Apply wood glue to the mitered edges and join the corners. Secure with small finishing nails for added strength.
- Sand and finish: Sand the frames smooth and apply paint or stain. Allow to dry completely.
- Create frame backing: Cut backing board to fit inside the back of each frame.
- Mount artwork: Place glass/acrylic, mat (if using), artwork, and backing into the frame. Secure with small nails or framing points.
- Hang your gallery: Attach hanging hardware to frames and arrange on your wall according to your plan, using a level to ensure straight placement.
Time required: 4-6 hours for several frames
Approximate cost: $50-$100 depending on number and size of frames
Project 4: Painted Accent Wall with Pattern
Transform a room with a bold accent wall featuring a geometric pattern. This high-impact project requires minimal tools but creates a dramatic custom look.
Materials Needed
Frog tape creates cleaner lines than regular painter's tape- Paint (base color and accent color)
- Paint rollers and trays
- Painter's tape (preferably edge-lock type)
- Level
- Pencil
- Measuring tape
- Drop cloth
Step-by-Step Instructions
- Prepare the wall: Clean the wall surface and fill any holes or imperfections. Allow to dry completely.
- Paint base color: Apply the base color to the entire wall and allow to dry thoroughly (usually 24 hours).
- Plan your pattern: Simple geometric patterns like herringbone, chevron, or diamond grid work well. Measure and mark key points lightly with pencil, using your level to ensure straight lines.
- Apply painter's tape: Create your pattern by applying tape along your pencil marks. Press firmly along the edges to prevent paint bleed.
- Paint accent color: Apply the accent color over the tape pattern. For crisp lines, remove the tape while the paint is still slightly wet.
- Touch up: Once dry, inspect for any areas that need touch-ups and make corrections as needed.
Time required: 1-2 days (including drying time)
Approximate cost: $40-$75 for paint and supplies
Project 5: Custom Concrete Planters
Create modern, minimalist concrete planters that would cost significantly more if purchased from design stores. These versatile containers work indoors or outdoors and can be customized in countless ways.
Materials Needed
Quick-setting concrete mix works best for this project- Quick-setting concrete mix
- Plastic containers for molds (various sizes)
- Cooking spray or petroleum jelly
- Plastic sheeting or garbage bags
- Plastic container for mixing concrete
- Sandpaper (various grits)
- Optional: concrete sealer
- Optional: acrylic paint for decorating
Step-by-Step Instructions
- Create molds: For each planter, you'll need two containers that nest inside each other with about 1-2 inches of space between them. The inner container creates the hollow center for plants.
- Prepare molds: Coat the inside of the outer container and the outside of the inner container with cooking spray or petroleum jelly for easy removal.
- Mix concrete: Following package instructions, mix the concrete to a thick, pourable consistency.
- Pour concrete: Pour the concrete mixture into the outer container. Place the inner container on top, pressing down gently until it sits about 1 inch from the bottom.
- Weigh down inner container: Fill the inner container with water or sand to prevent it from floating up. Ensure it remains centered.
- Allow to cure: Let the concrete cure according to package instructions (typically 24-48 hours).
- Remove from molds: Carefully remove both containers. If the concrete sticks, try running a thin knife around the edges.
- Finish: Sand any rough edges. For drainage, drill a small hole in the bottom or add a layer of gravel before planting.
- Optional decoration: Apply concrete sealer for durability or decorate with acrylic paint if desired.
Time required: 2-3 days (including curing time)
Approximate cost: $20-$40 for several planters
Tips for Success with Minimal Tools
These strategies will help you achieve professional-looking results without specialized equipment:
- Take advantage of store services: Many hardware stores offer cutting services for lumber, glass, and other materials
- Work carefully and patiently: Without power tools, some steps might take longer but can yield equally good results
- Use templates and guides: Create makeshift guides from cardboard or straight edges for consistent results
- Consider tool rental: For one-off needs, renting specialized tools from Framrsklns is more economical than purchasing
- Focus on preparation: Thorough surface preparation often matters more than fancy tools for a quality finish
Conclusion
These five projects demonstrate that you don't need an extensive workshop to create beautiful, custom items for your home. With just a few basic tools and some creativity, you can tackle projects that look professional and personalized.
As your DIY confidence grows, you might consider expanding your toolkit gradually, focusing on versatile tools that can be used across multiple project types. For specialized equipment needed only occasionally, remember that Framrsklns offers convenient rental options, allowing you to access high-quality tools without the investment of ownership.
Start with whichever project appeals to you most, and enjoy the satisfaction of creating something beautiful with your own hands!